I have been trying to reduce the amount of chemicals that are used in my household. I have been making my own laundry soap for several years now and LOVE it. So I set out to tackle another favorite. I am in love with my Salt Surf Spray from my salon, but at $26.00 for just 4 ounces, I have to ration it like good dark chocolate. So I set out to create my own. I figured it couldn’t be too hard since the spray is supposed to mimic the look of hair after spending the day frolicking in the ocean. – Since Minnesota is not known for it’s coastal location (lakes yes, ocean no!), I’ll have to settle for the spray.
After several trial batches, I found a mix that works best with my hair (wavy, fine strands, but thick concentration). Mixing up a batch takes 5 minutes or less and helps give texture to my fine strands. I really like adding essential oils to give it fragrance, but it is completely optional. My current favorite is a mixture of lavender and lemon.

As you can see, the ingredient list is pretty simple. Salt (I prefer Epsom salt because it isn’t as drying and a little Himalayan salt for stiffness), aloe vera (for moisture), conditioner (to keep hair from drying out) and essential oils (for fragrance).
To make, heat 1 cup of water in a pan. Remove from heat. Add Epsom Salt.
Add Himalayan salt.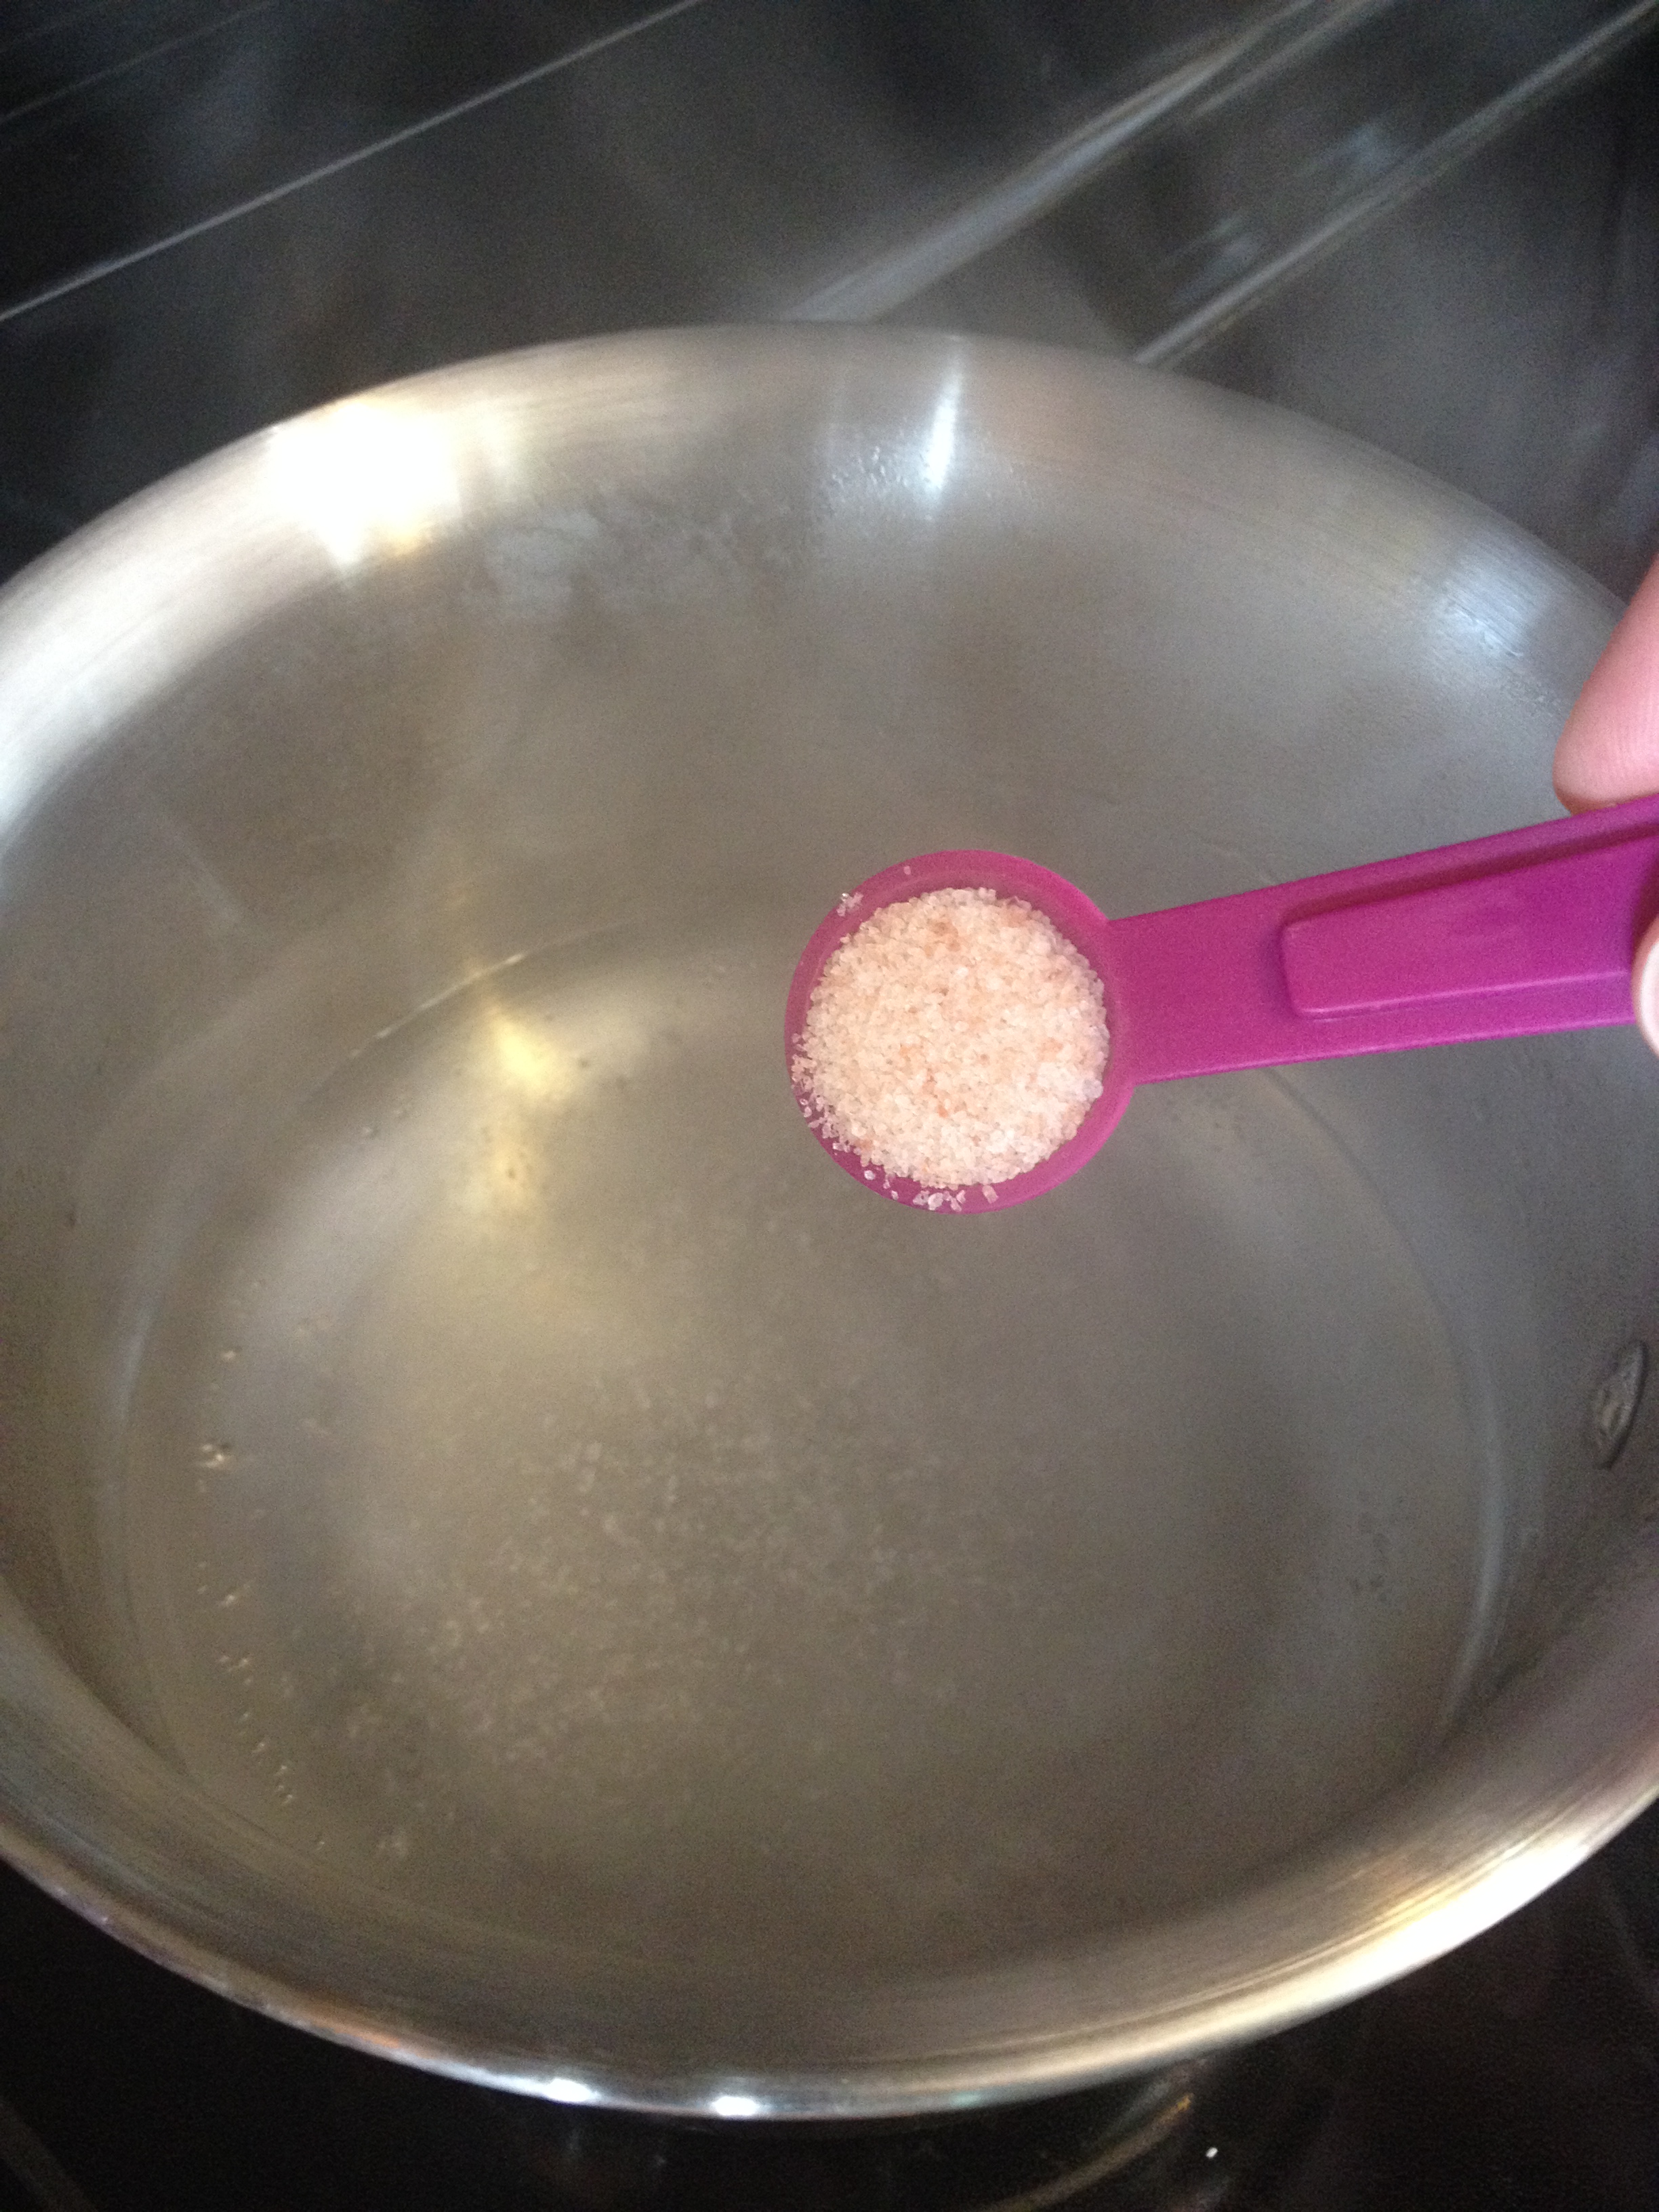
Add aloe vera gel.
Add conditioner.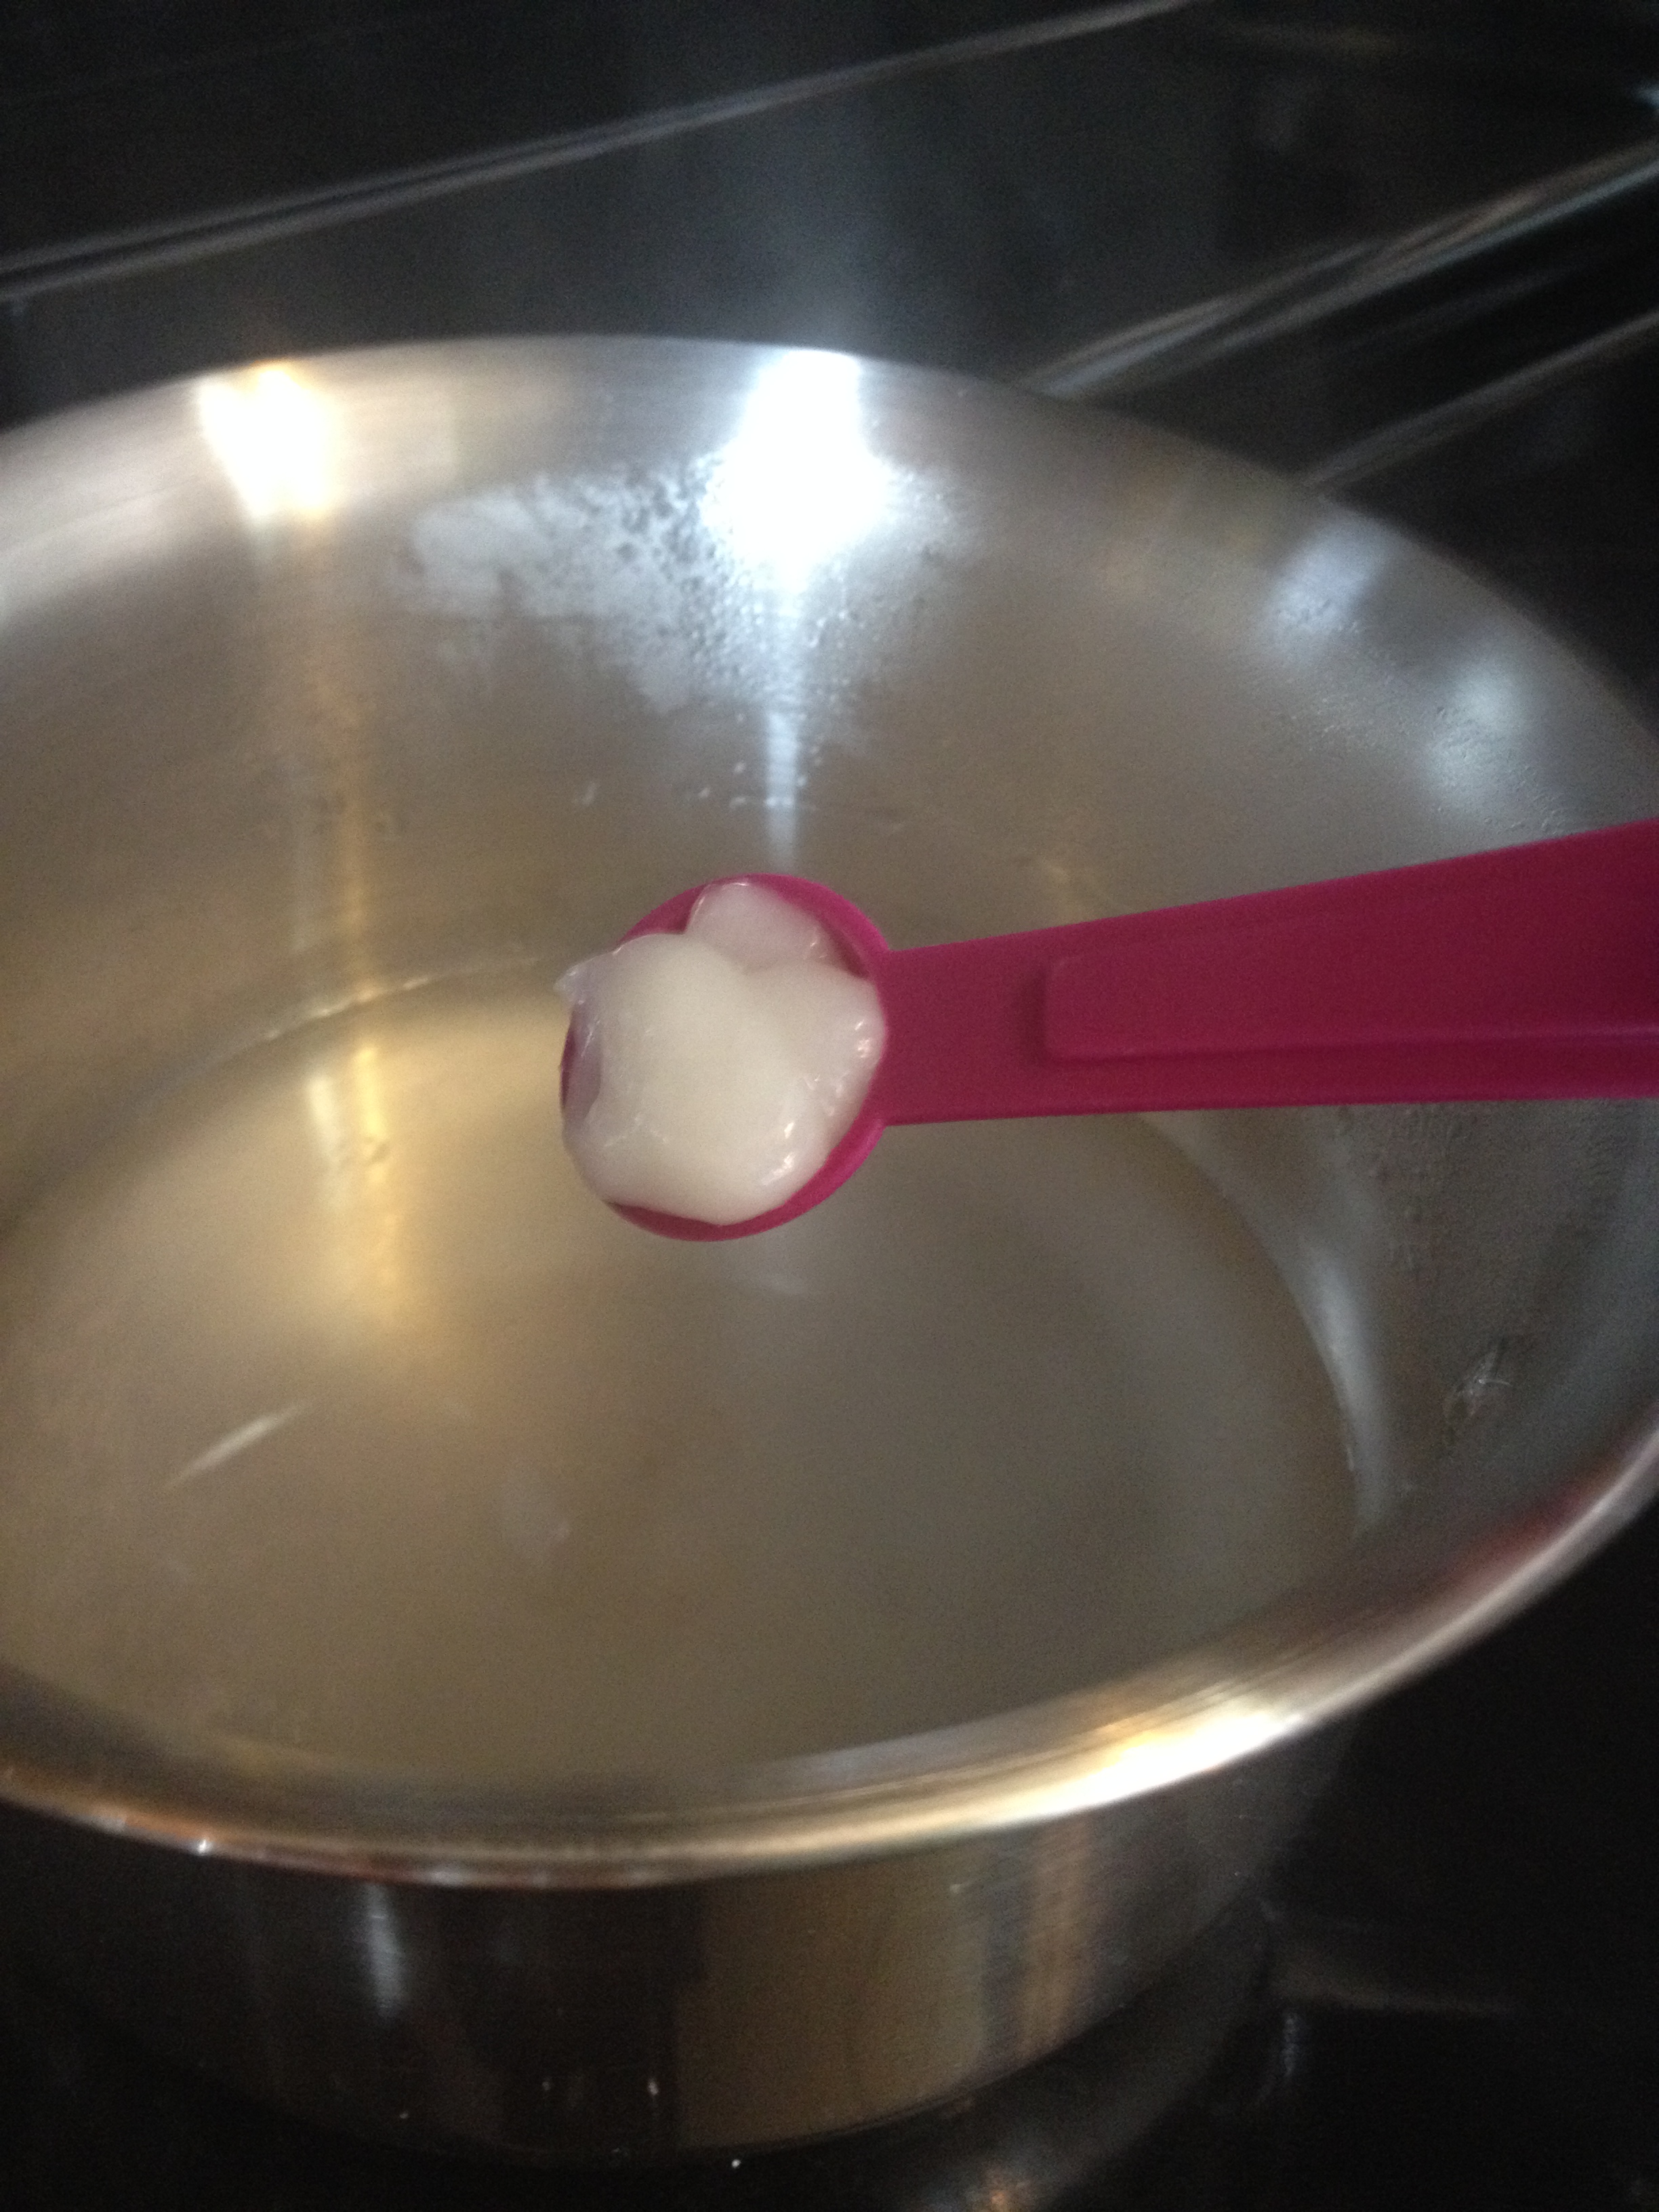
Add essential oils (3-4 drops is plenty). Stir until combined.
Let cool in pan before filling your spray container. Note: letting it cool is a crucial step that I was too impatient to do one day. And this is what happened to my container…… Thankfully it still works, but it doesn’t hold quite as much as it used too…

Poor, melted bottle…
To use the spray, I prefer to spritz it on my hair when it is slightly damp then continue to style as normal. Which for me means to blow dry with a diffuser and use a 1″ straightener to put in accent curls. You can also spray into damp hair, scrunch and let air dry for authentic beach waves.
Here are a few photos of my hair once complete. Please don’t judge me! Self/hair photography isn’t my strength. ![IMG_8558[1]](https://thisrdeats.com/wp-content/uploads/2015/01/img_85581.jpg)
![IMG_8559[1]](https://thisrdeats.com/wp-content/uploads/2015/01/img_85591.jpg)
![IMG_8560[1]](https://thisrdeats.com/wp-content/uploads/2015/01/img_85601.jpg)
Or, for those of you wanting a nice, gentle wave, shower at night, spray into damp hair and braid. In the morning your hair should be dry and wavy. You might want to spray a bit more salt spray in your hair for finishing texture.
Beach Salt Surf Hair Spray
All you need:
1 cup of hot water (not boiling)
2 tablespoons Epsom salts
½ tsp Himalayan or Sea Salt (optional but adds stiffness)
1 teaspoon (heaping) aloe vera gel
½ tsp conditioner
Optional: a few drops of essential oils (lavender and lemon are great options)
All you do:
1. Get a spray bottle that holds at least 8 ounces. Put water into a pan on the stove. Bring to a low boil. Remove from heat.
2. Add in Epsom salts, sea salt, aloe vera, conditioner, essential oils (optional).
3. Stir until combined. Let cool.
4. Pour into bottle. Use as you would other surf spray.
*Note, you will need to give the bottle a gentle shake before each use to mix up all the ingredients as they will settle a bit between uses.

![IMG_9022[1]](https://thisrdeats.com/wp-content/uploads/2014/11/img_90221.jpg)
![IMG_9023[1]](https://thisrdeats.com/wp-content/uploads/2014/11/img_90231.jpg)
![IMG_9024[1]](https://thisrdeats.com/wp-content/uploads/2014/11/img_90241.jpg)
![IMG_9025[1]](https://thisrdeats.com/wp-content/uploads/2014/11/img_90251.jpg)
![IMG_9029[1]](https://thisrdeats.com/wp-content/uploads/2014/11/img_90291.jpg)
![IMG_9028[1]](https://thisrdeats.com/wp-content/uploads/2014/11/img_90281.jpg)
![IMG_9047[1]](https://thisrdeats.com/wp-content/uploads/2014/11/img_90471.jpg)
![IMG_9037[1]](https://thisrdeats.com/wp-content/uploads/2014/11/img_90371.jpg)


![IMG_7022[1]](https://thisrdeats.com/wp-content/uploads/2014/05/img_70221.jpg)